Thu 05 Apr 2007
5:00PM
compton

Finally Fixing the Broken Spoke on my Bicycle

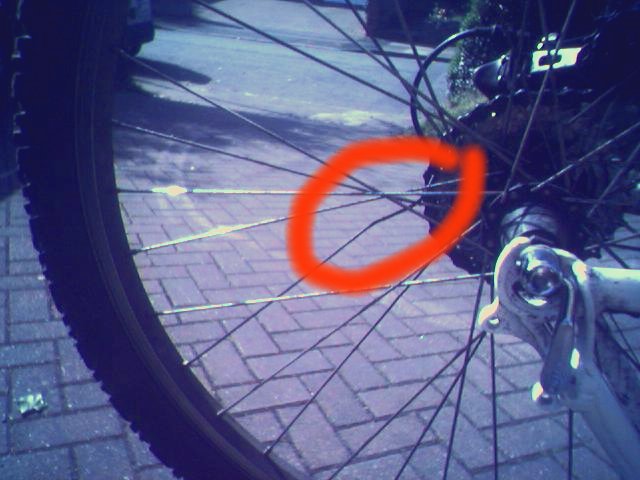
Since early last week, my pushbike has had a broken spoke: the first spoke to break on this bike. My previous bike was always getting broken spokes - for normal people, this is apparently unheard of. I put it down to a combination of the facts that I rode that bike regularly - daily to work pretty much every day for 2 years, plus pretty much everywhere else: swimming pool, pub, shops... It had done well over 1000 miles of pretty tough urban riding. Also, I weigh somewhere around 15 stone, and as it was a hybrid bike, I don't think it was really designed for people of that weight thrashing it about so much.

This bike however is a regular 26" wheel mountain bike, and the shorter spokes are tougher, so I was surprised at the broken spoke.

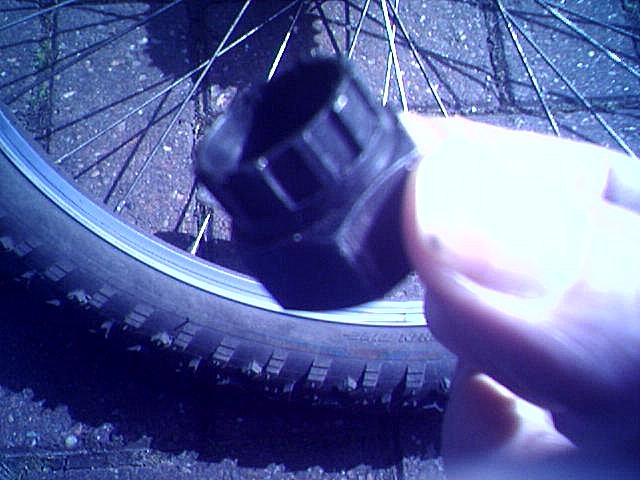
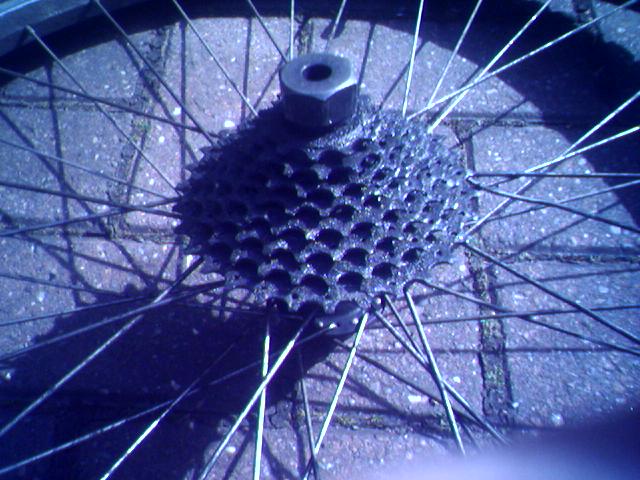
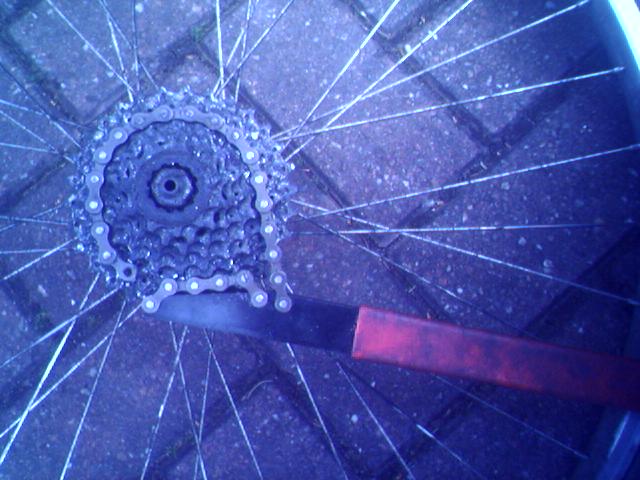
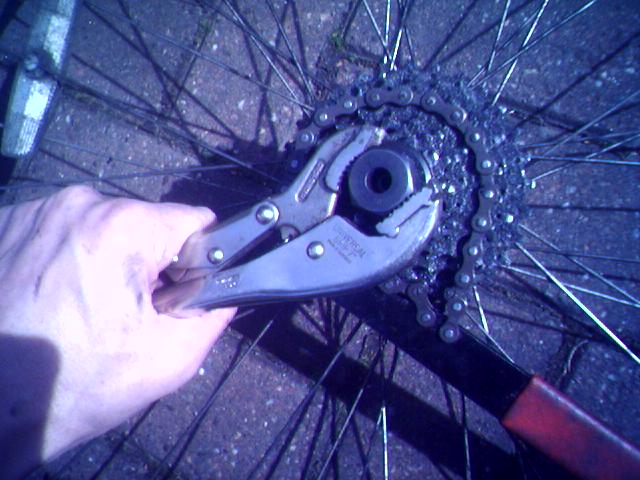
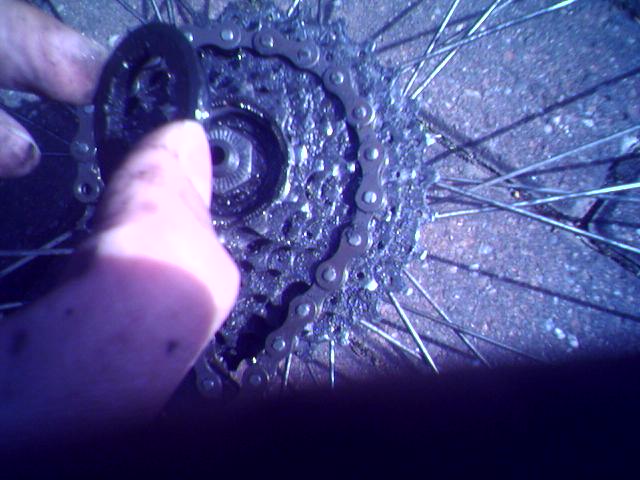
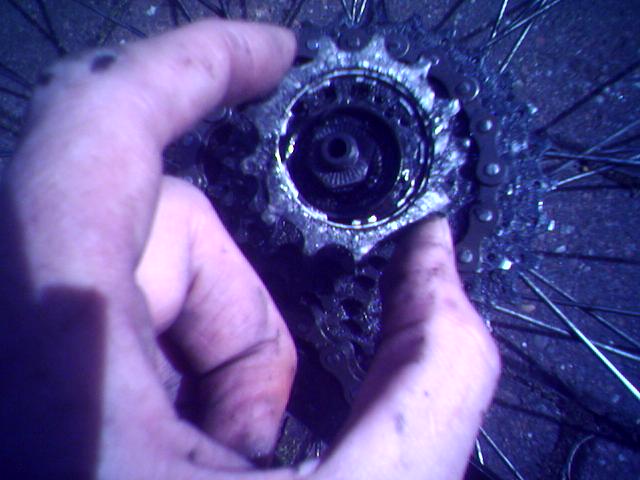
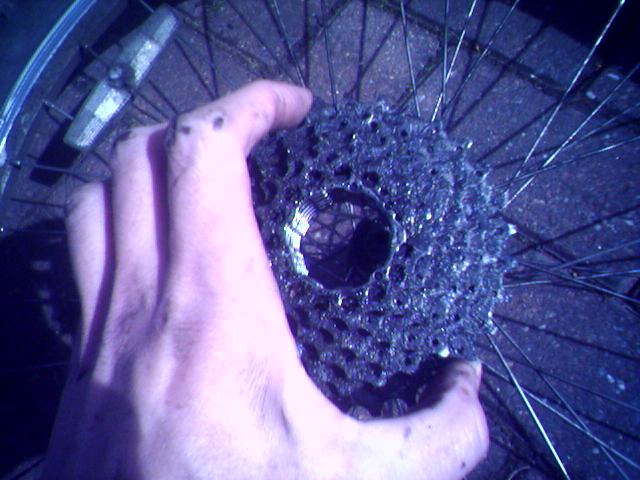
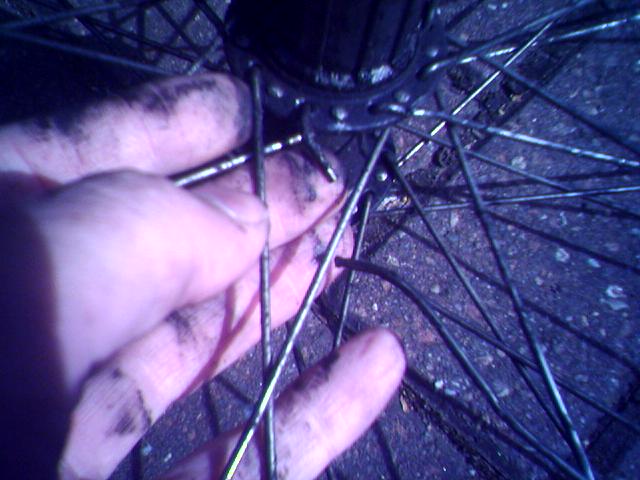
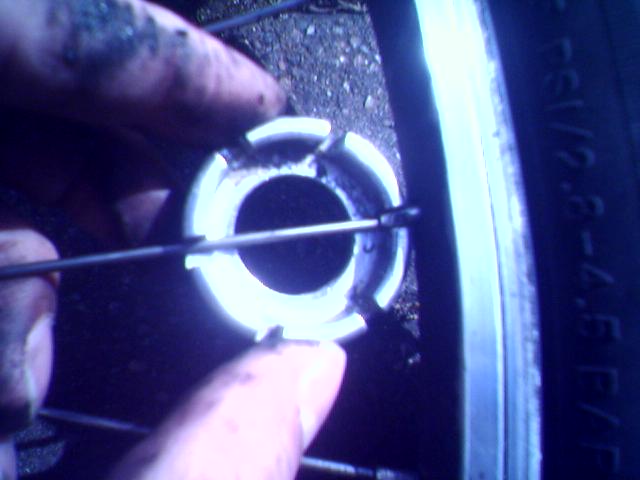
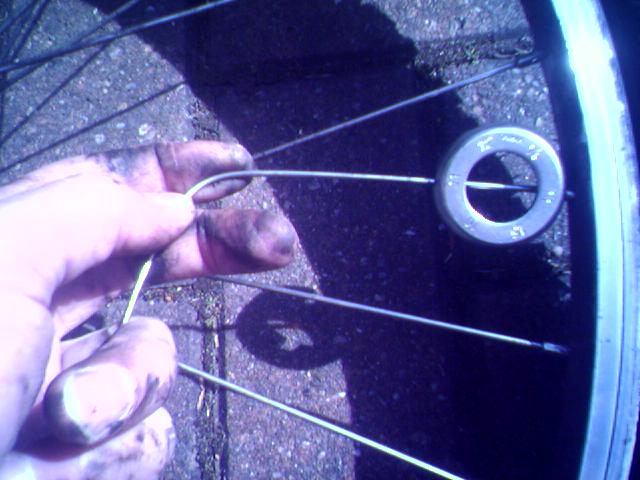
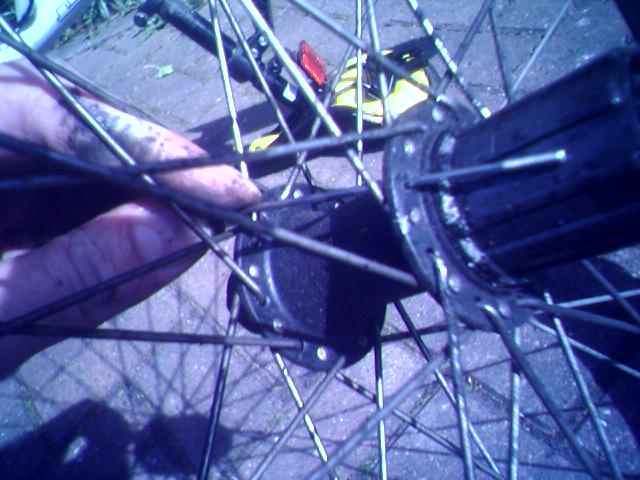
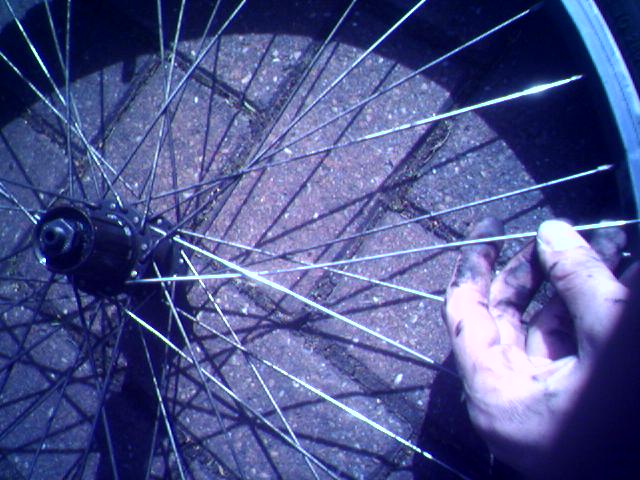
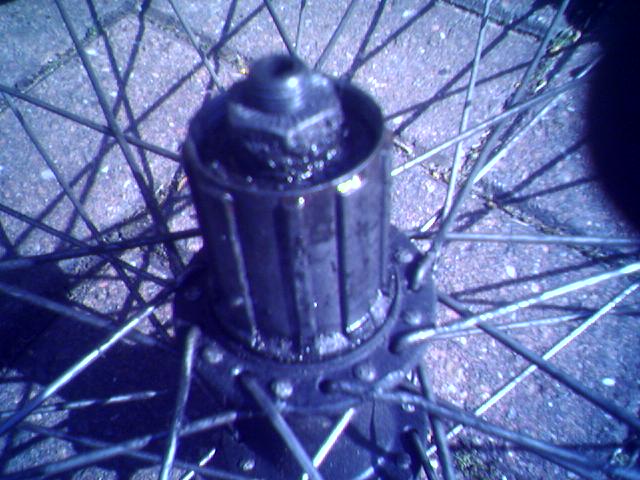
Fixing it isn't a major job - I need to remove the back wheel, remove the rear cassette (the gears), extract the remnants of the old spoke, and replace with a new one. I happen to have a new one that seems to be the correct length so I hope it'll fit.

compton

4:21 pm, Friday, 6 April 07

In this case, there was no need to remove the tyre or even let the air out, because the way the spoke had broken meant I could reuse the same spoke nipple. If the spoke had broken closer to the rim, it might not have been possible to get the broken part out, in which case I'd have had to remove the tyre in order to put a new nipple in - hardly a big deal in any case.

Sometimes, you might be lucky, and not have to remove the cassette, and instead you can just just thread the new spoke through with it still in place. This is only possible when the broken spoke is on the opposite side to the cassette, and it will require you to bend the new spoke somewhat. Bending it carefully won't weaken it though, and it will pull straight when tightened.

Anyway, the pic below shows the broken spoke:


You need a couple of special tools in order to remove the cassette. The first is an adaptor:


This is grooved to fit snugly inside the lock ring of the cassette:


The other tool is needed because undoing the lock ring requires turning it the same way that the freewheel mechanism normally allows the cassette to spin. The tool allows you to hold the cassette firm while you undo it:


You need to use this thing the right way round for it to be effective. Once in place, you should be able to apply enough force to loosen the lock ring:


It should come off nicely:


Next, the two smallest gears can be removed:


You can now pull off the cassette, which should remain fixed together.


Be careful though, as on occasion you might find the remaining gears to be only loosely fixed together. If this happens, be careful not to lose the small connecting pin if it drops out.

With the cassette out of the way, I could easily inspect the broken spoke:


It's pretty badly mashed up, and interestingly, the two spokes on either side also show damage, as can be seen in the pic above if you look carefully. This indicates that the spoke didn't break from fatness alone, but was almost certainly caused by the chain coming off the gears, and getting trapped between the cassette and the spokes. In fact I remember this happening not long before the break; I also remember being too lazy to stop and untangle the mess properly, instead choosing to drop the gears down and continue pedalling so that the chain would be pulled out and back on to the gears by itself, without getting my hands dirty or even having to get off the bike. With hindsight, this was obviously a bit of a false saving.

The next step is to remove the two bits of broken spoke, the one from the hub, and the other being the longer section (in this case) attached to the rim. You can use pliers to grip the nipple (sounds painful, luckily bikes don't have feelings) but a spoke tool is better as it avoids damage to the nipple:


Obviously, feel free to bend the broken spoke to help undo it:


Now it's time to thread the new spoke in place:


Be sure to push it through the hole in the hub the right way - in this case I need to push it from the inside to the outside, rather than from the outside to the inside. You can tell which way to do it by ensuring it matches the alternating pattern of the other spokes.

When you thread it through the other spokes, remember that in this case, it goes over, then under. That is, where it crosses the first spoke, nearest the hub, it goes over it, and when it crosses the next one, closer to the rim, it goes underneath. This is essential to keep the correct tension in the spokes:


Had the spoke been threaded from the outside to inside, then it would have needed to be threaded under then over. It's easy enough to work this out though by looking at the other good spokes elsewhere on the wheel, just be sure to get it right.

You will probably need to bend the spoke while you are threading it through the others, but that's nothing to worry about. Any bends or kinks will straighten themselves out when the spoke is tightened up, again using a spoke key if possible.

Once the spoke is back in place, you can return the cassette to its place, after taking the oportunity to give it a good clean. When you come to put it back, note the pattern of grooves that it must lock into. You'll see that for the most part, these grooves are evenly spaced, and are as wide as the ridges between them:


Look carefully and you'll also find a couple of grooves that break this pattern, with one wide groove and one narrow ridge:


Needless to say, these have to match up with the grooves in the cassette.

Reattach the two smallest gears, and also the lock ring. Use the adaptor to tighten it up - you don't need the other tool now as we are going against the freewheel so there isn't a problem. Don't overtighten the lock ring, a little more than hand tight will be enough. There shouldn't be any risk of it coming undone unexpectedly (this is why undoing it goes with the freewheel in the first place).

Finally return your wheel to the bike, don't forget to reconnect your brakes if you had to disconnect them to get the wheel out.

There were no unexpected hiccups, and the whole process took about 45 minutes. My wheel is restored to full strength, and I'm glad that the break was caused by laziness rather than my riding style, as I wasn't keen on the idea of having to namby pamby about when cycling!
 

aeroman

3:35 am, Thursday, 15 October 09

Hi People
How are you doing?
 

Jede Creek

3:58 am, Tuesday, 30 November 10

Very nice! Thanks :)
 

Cycle Newbie

11:31 am, Thursday, 14 April 11

Cheers mate! Helped a lot
 

/xkcd/ Eclipse Path Maps